
Creating a Google Analytics account is not nearly as straightforward as you might think, but Google Analytics is a must-have for your website — whether you’re working with us or another vendor, you’ll want to setup a Google Analytics account and connect it to your site.

So what is Google Analytics? Google Analytics is people. No, really… and not in a creepy Soylent Green kind of way.
Google Analytics is the data about your website and how people interact with it. How’d they get there? What did they do once they got there?
Who are they and what part of the world are they in? Google Analytics tells you this and more about your website visitors, and creating a Google Analytics account lets you tap into that wealth of data.
Valuable data — because it tells you what your customers are doing.
And Google Analytics is awesome because it’s free!
If that’s not a sales pitch you can go for, then by all means, head off to buy a ouija board or magic 8 ball to find out more about your website.
But if free, super useful data and insights is the kind of thing you get excited about — keep on reading.
Creating a Google Analytics Account — Getting Started
You’ll need to sign up for Google Analytics and send your tracking code to us or your website developer.
It helps if you have a Google Account already or a gmail address, but if you don’t, you can convert your existing email address into a Google Account.
Click here to learn how. https://www.google.com/analytics/analytics/#?modal_active=none
Once you have a gmail address or a Google Account, you can begin the process.
1. Sign in to your Google Account
2. Go to this website
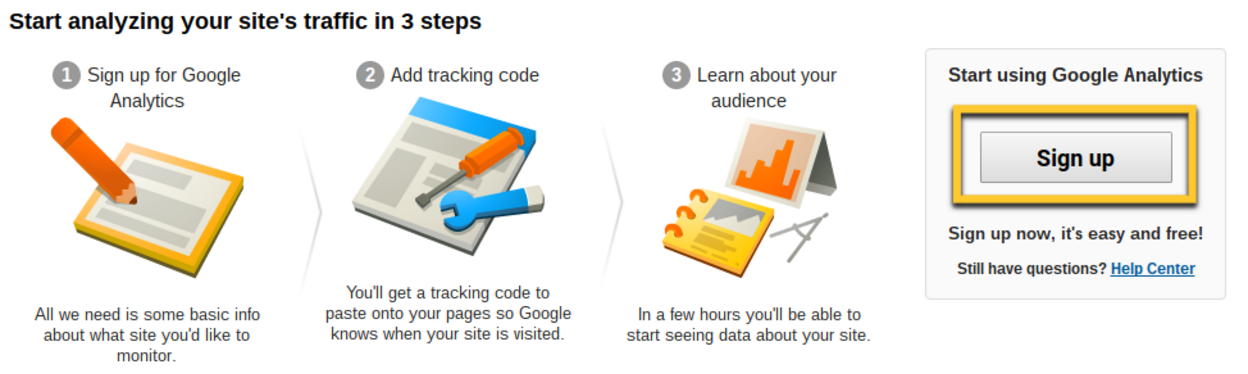
3. Click the “Sign Up For Free” button (pictured below)

4. You’ll navigate to a new page. Click the “Sign up” button (pictured below)
5. On the New Account screen, select Website and add your Account Name (business name works well for this), Website Name and your Website URL. Telling Google the Industry Category you fall into will help you see how your site compares to others in your industry.
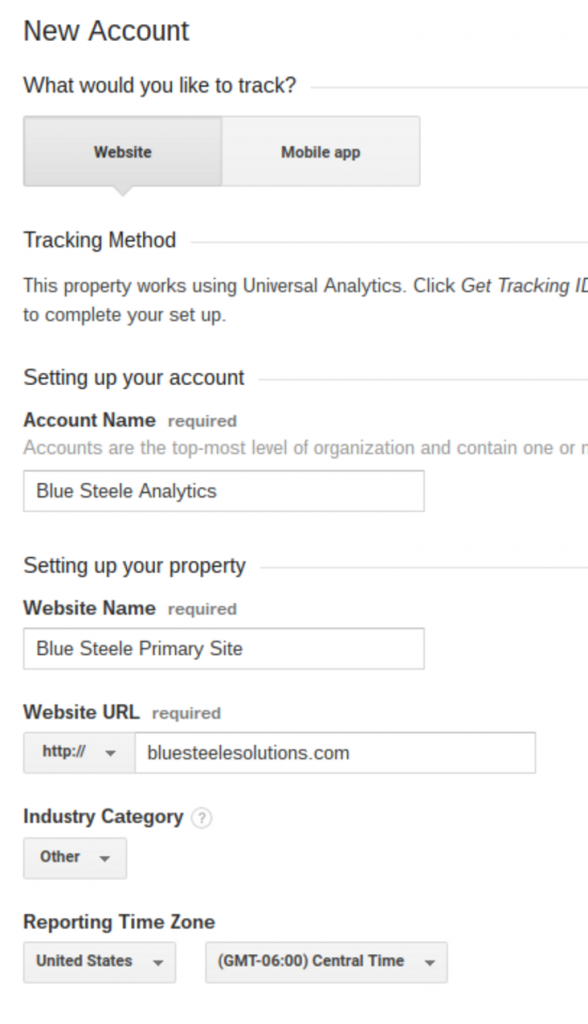
6. We suggest enabling all Data Sharing options before you click the Get Tracking ID button.

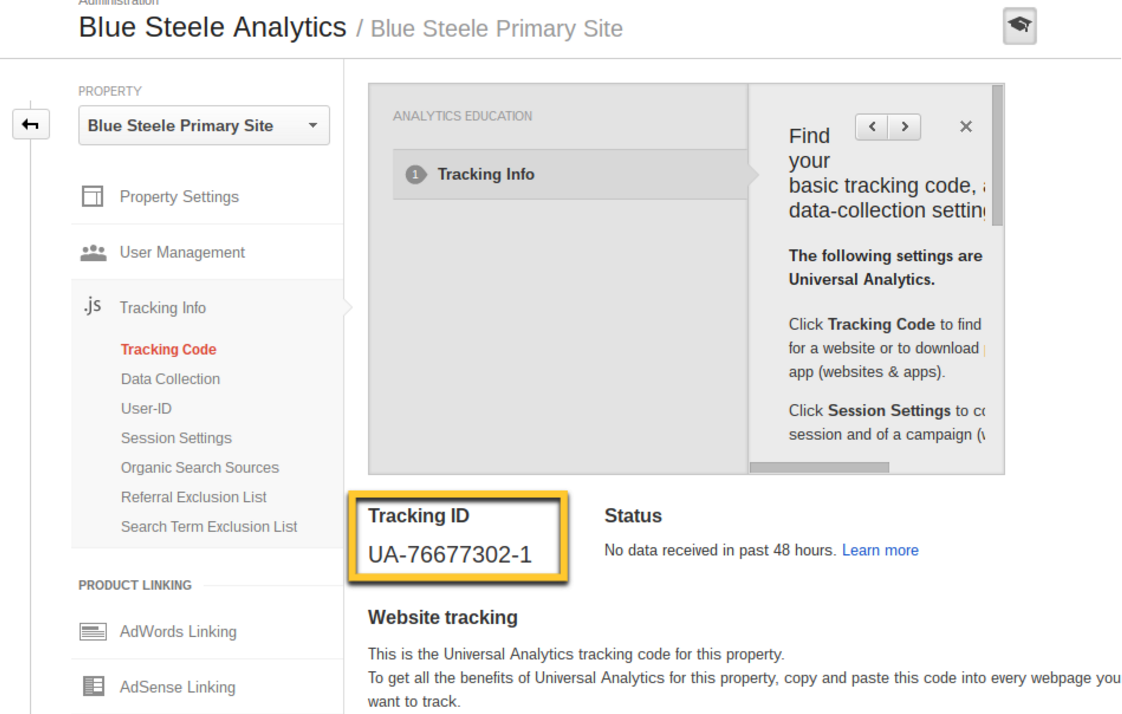
7. Your Tracking ID will display—this is the part you want to copy and send to us or your website developer. This ID links your website to your Analytics account.
8. Nothing in life is 100% free, so just go on and accept the terms and conditions Google requires.
Once you have Analytics installed on your site, you can come back and check how your site is performing and get great insights to how people actually use your website.
What Next?
After creating your Google Analytics account, it’s time to learn how to use it. Not sure what to do with all this data? Our besties over at Pam Ann Marketing break down 3 Metrics that Matter to get you started.
Then, take your Google Analytics account to the next level, and learn how to predict the future with Google Analytics in this interview with Jason Knill of WordImpress.
Wanting to set up Analytics on your site yourself without working with a developer? Try these instructions (also by the fabulous Pam Ann Marketing team).